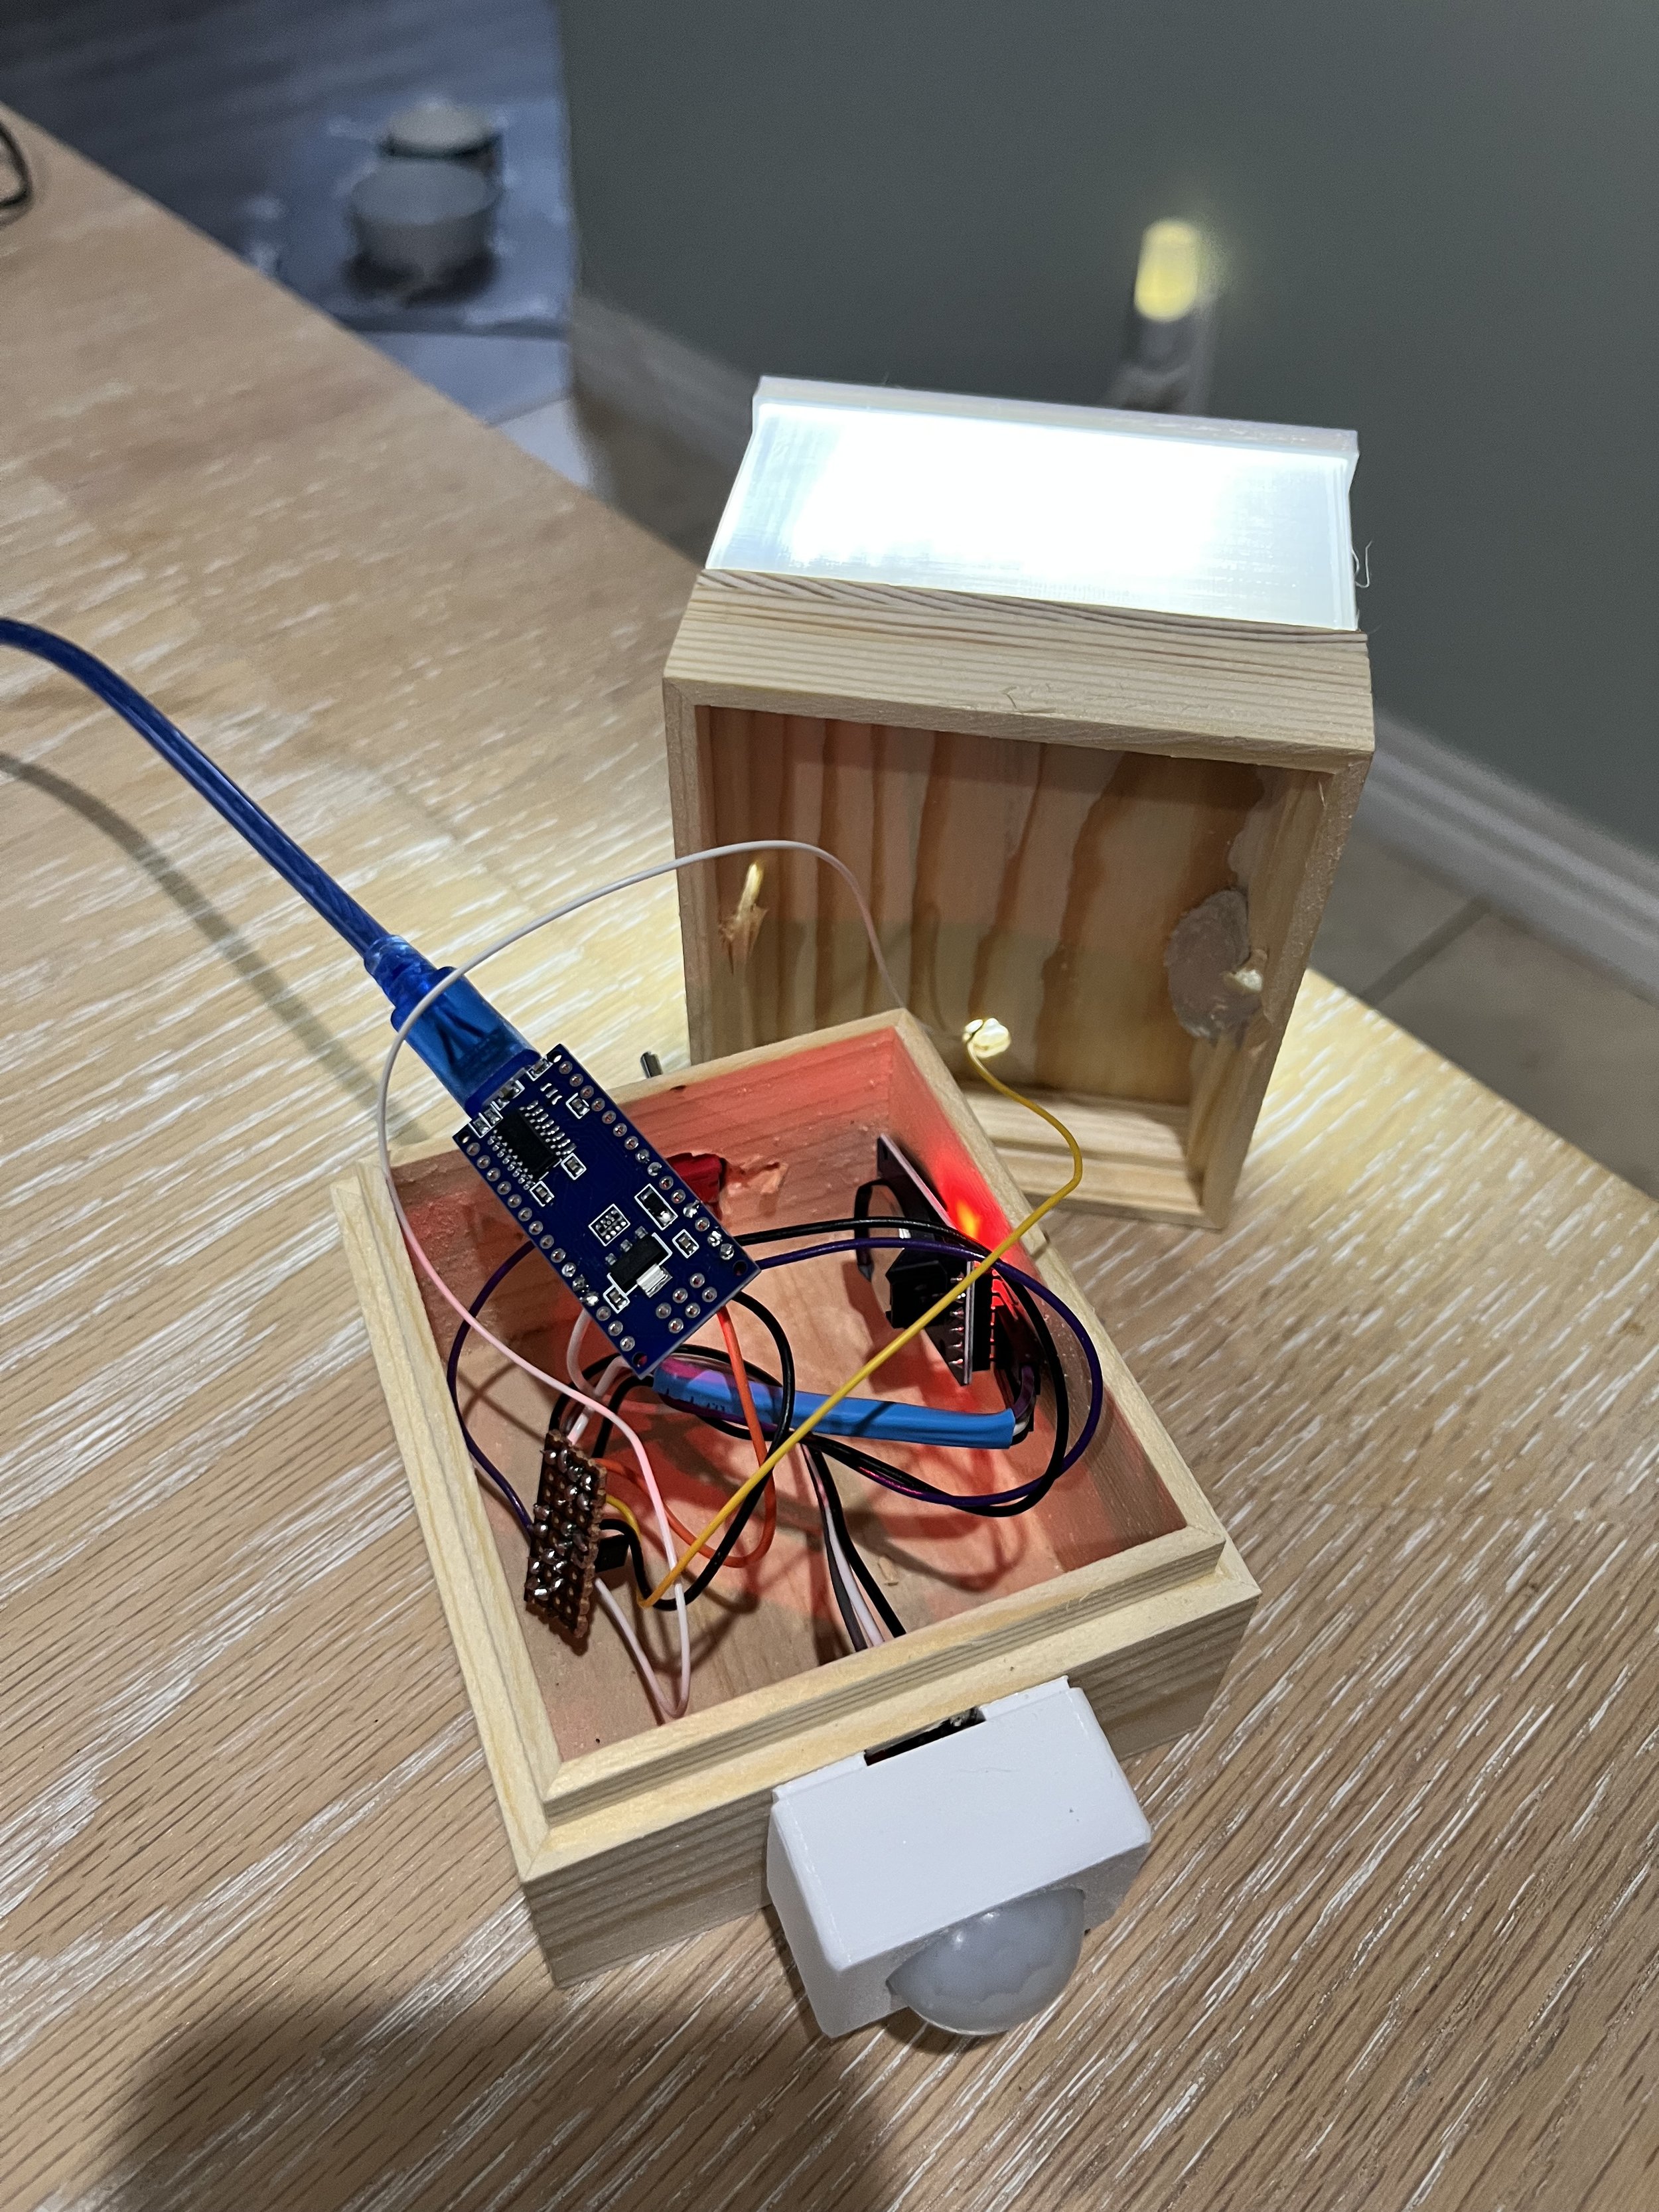
Dog Lamp
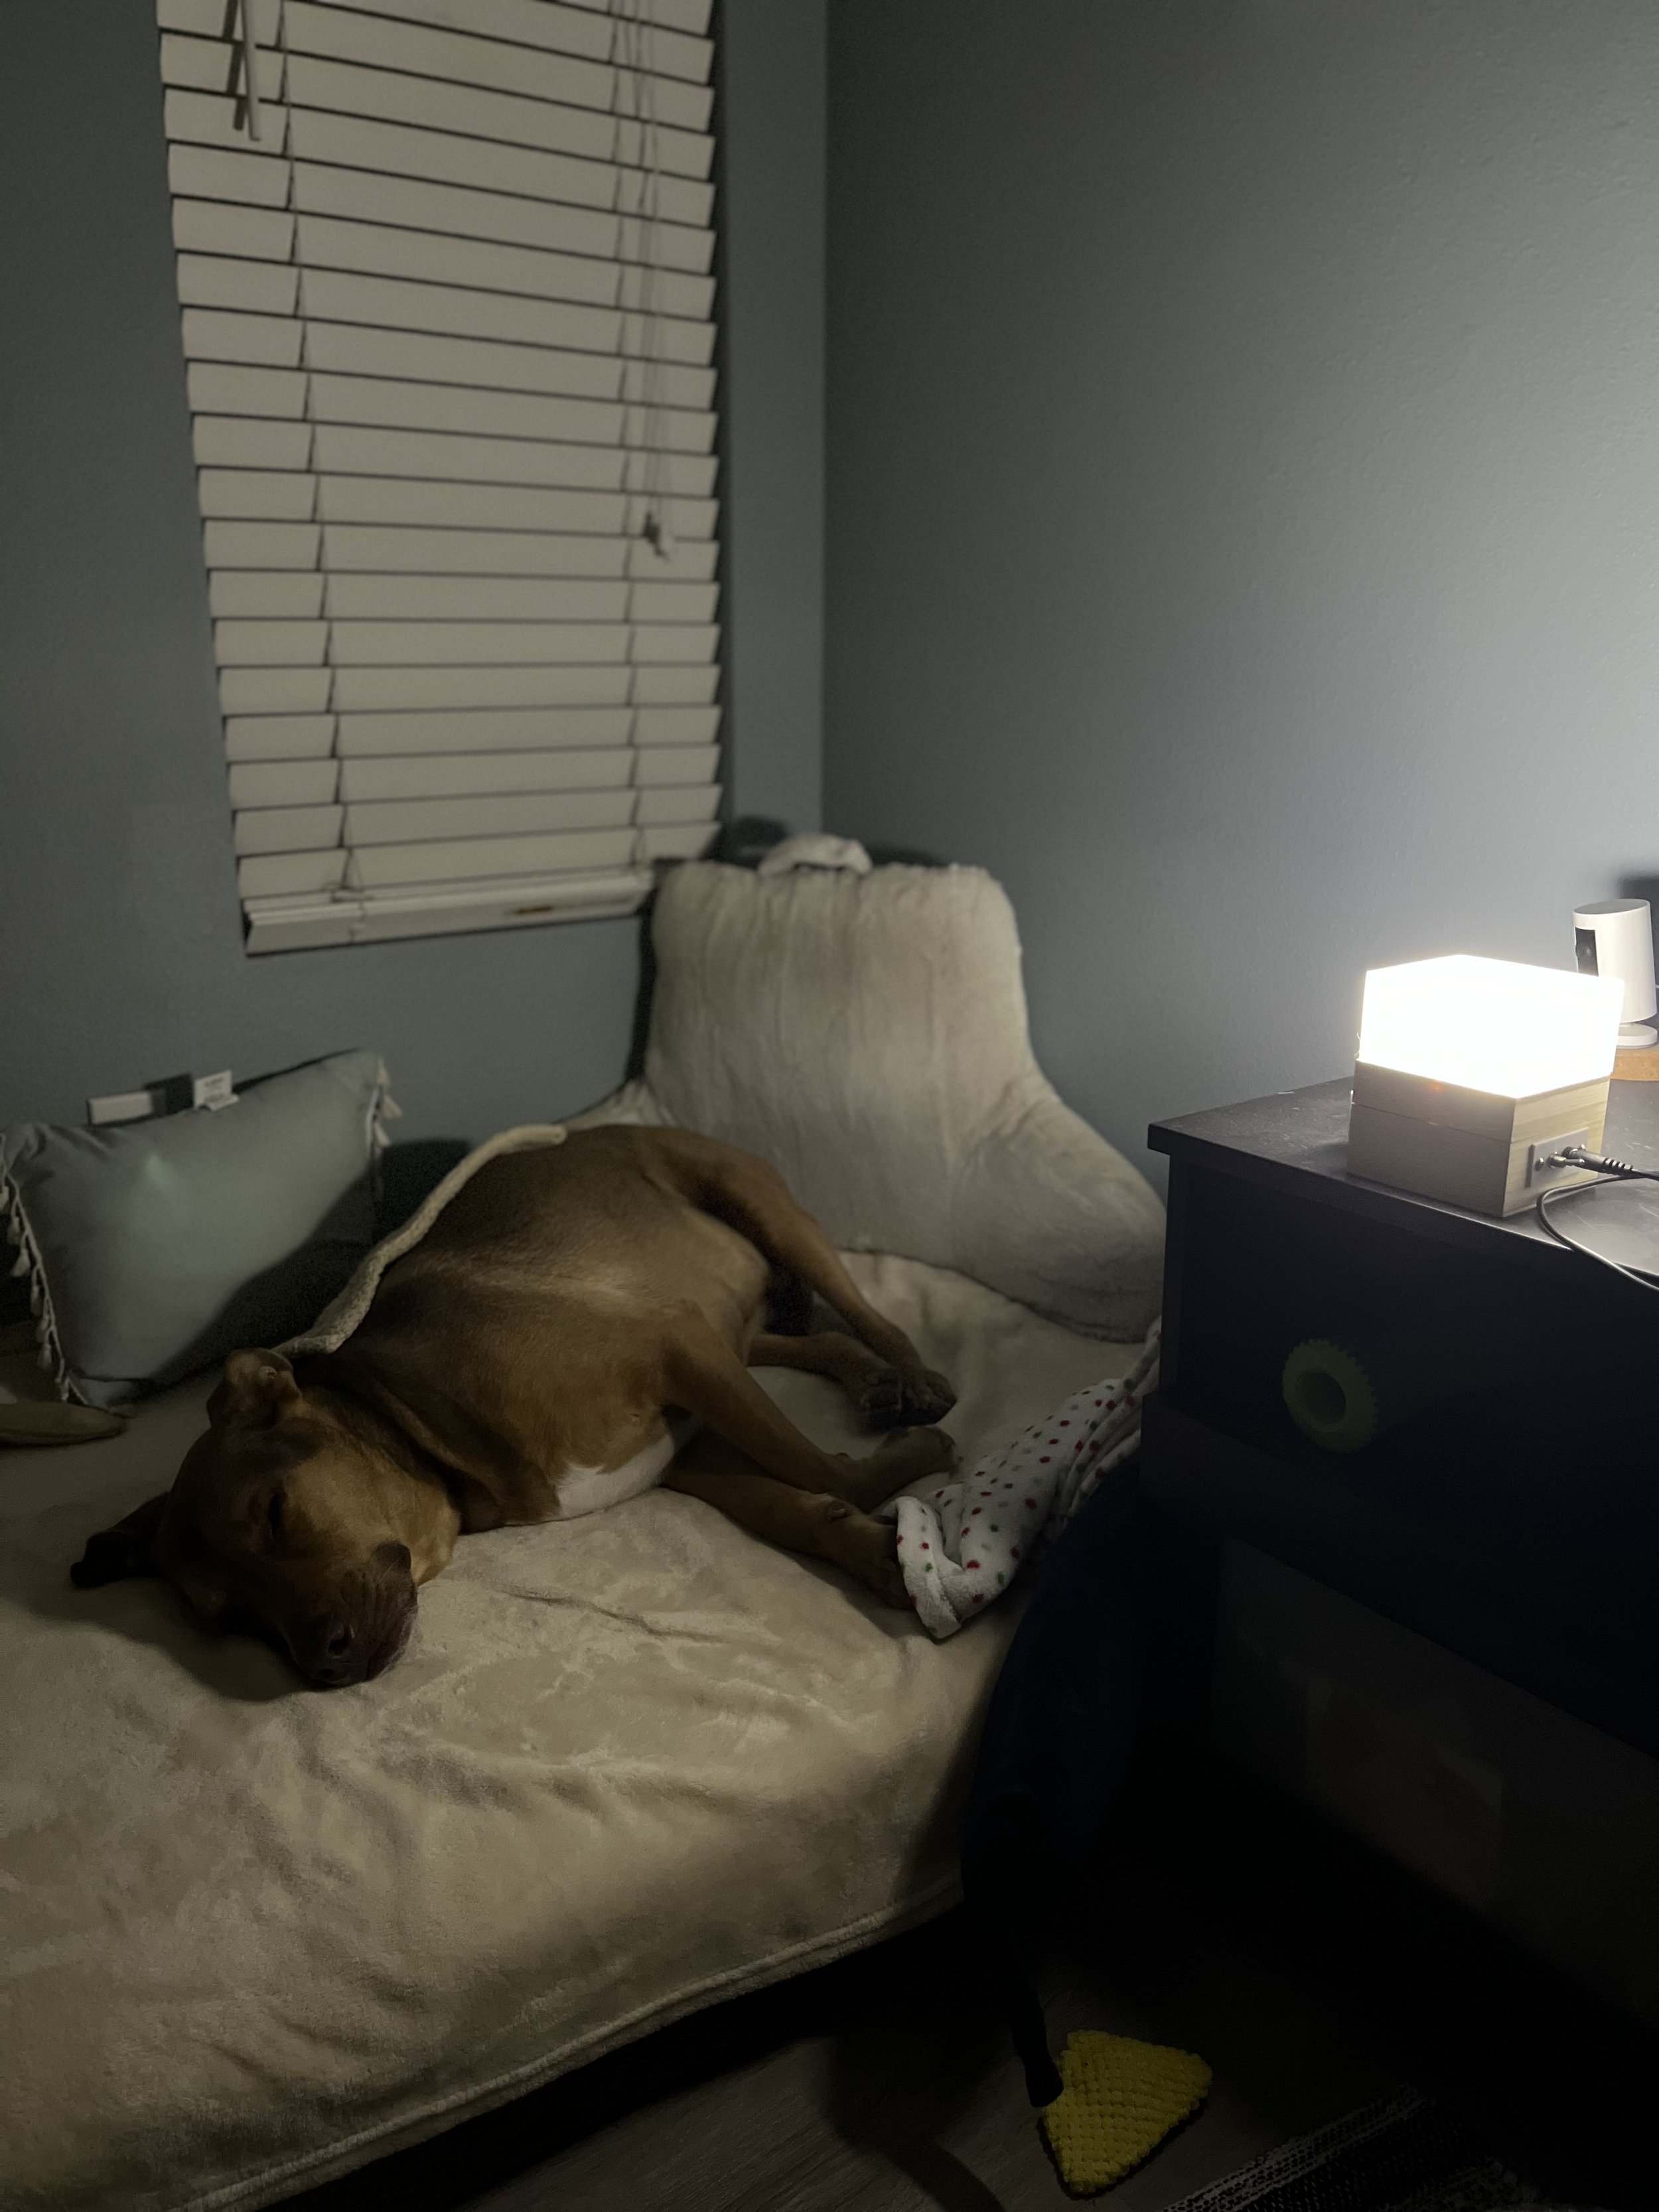
My dog Wexley usually heads to bed before we do—and he likes having a soft light on while he settles in. I wanted something automatic, calm, and reliable. So I built a motion-activated night light using an Arduino and a PIR sensor. It fades on when he enters his bed, dims to a softer glow as he gets comfortable, and after an hour of stillness, it gently fades off.
The idea was simple: a light that turns on when Wexley climbs into bed, stays on while he’s moving around, and fades out once he’s still. I started with an Arduino, a PIR sensor, a 5V SPST relay, and an LED strip I salvaged from a Daiso USB lamp. The logic was straightforward: detect motion, trigger a fade-in, and reset a timer with each new movement.
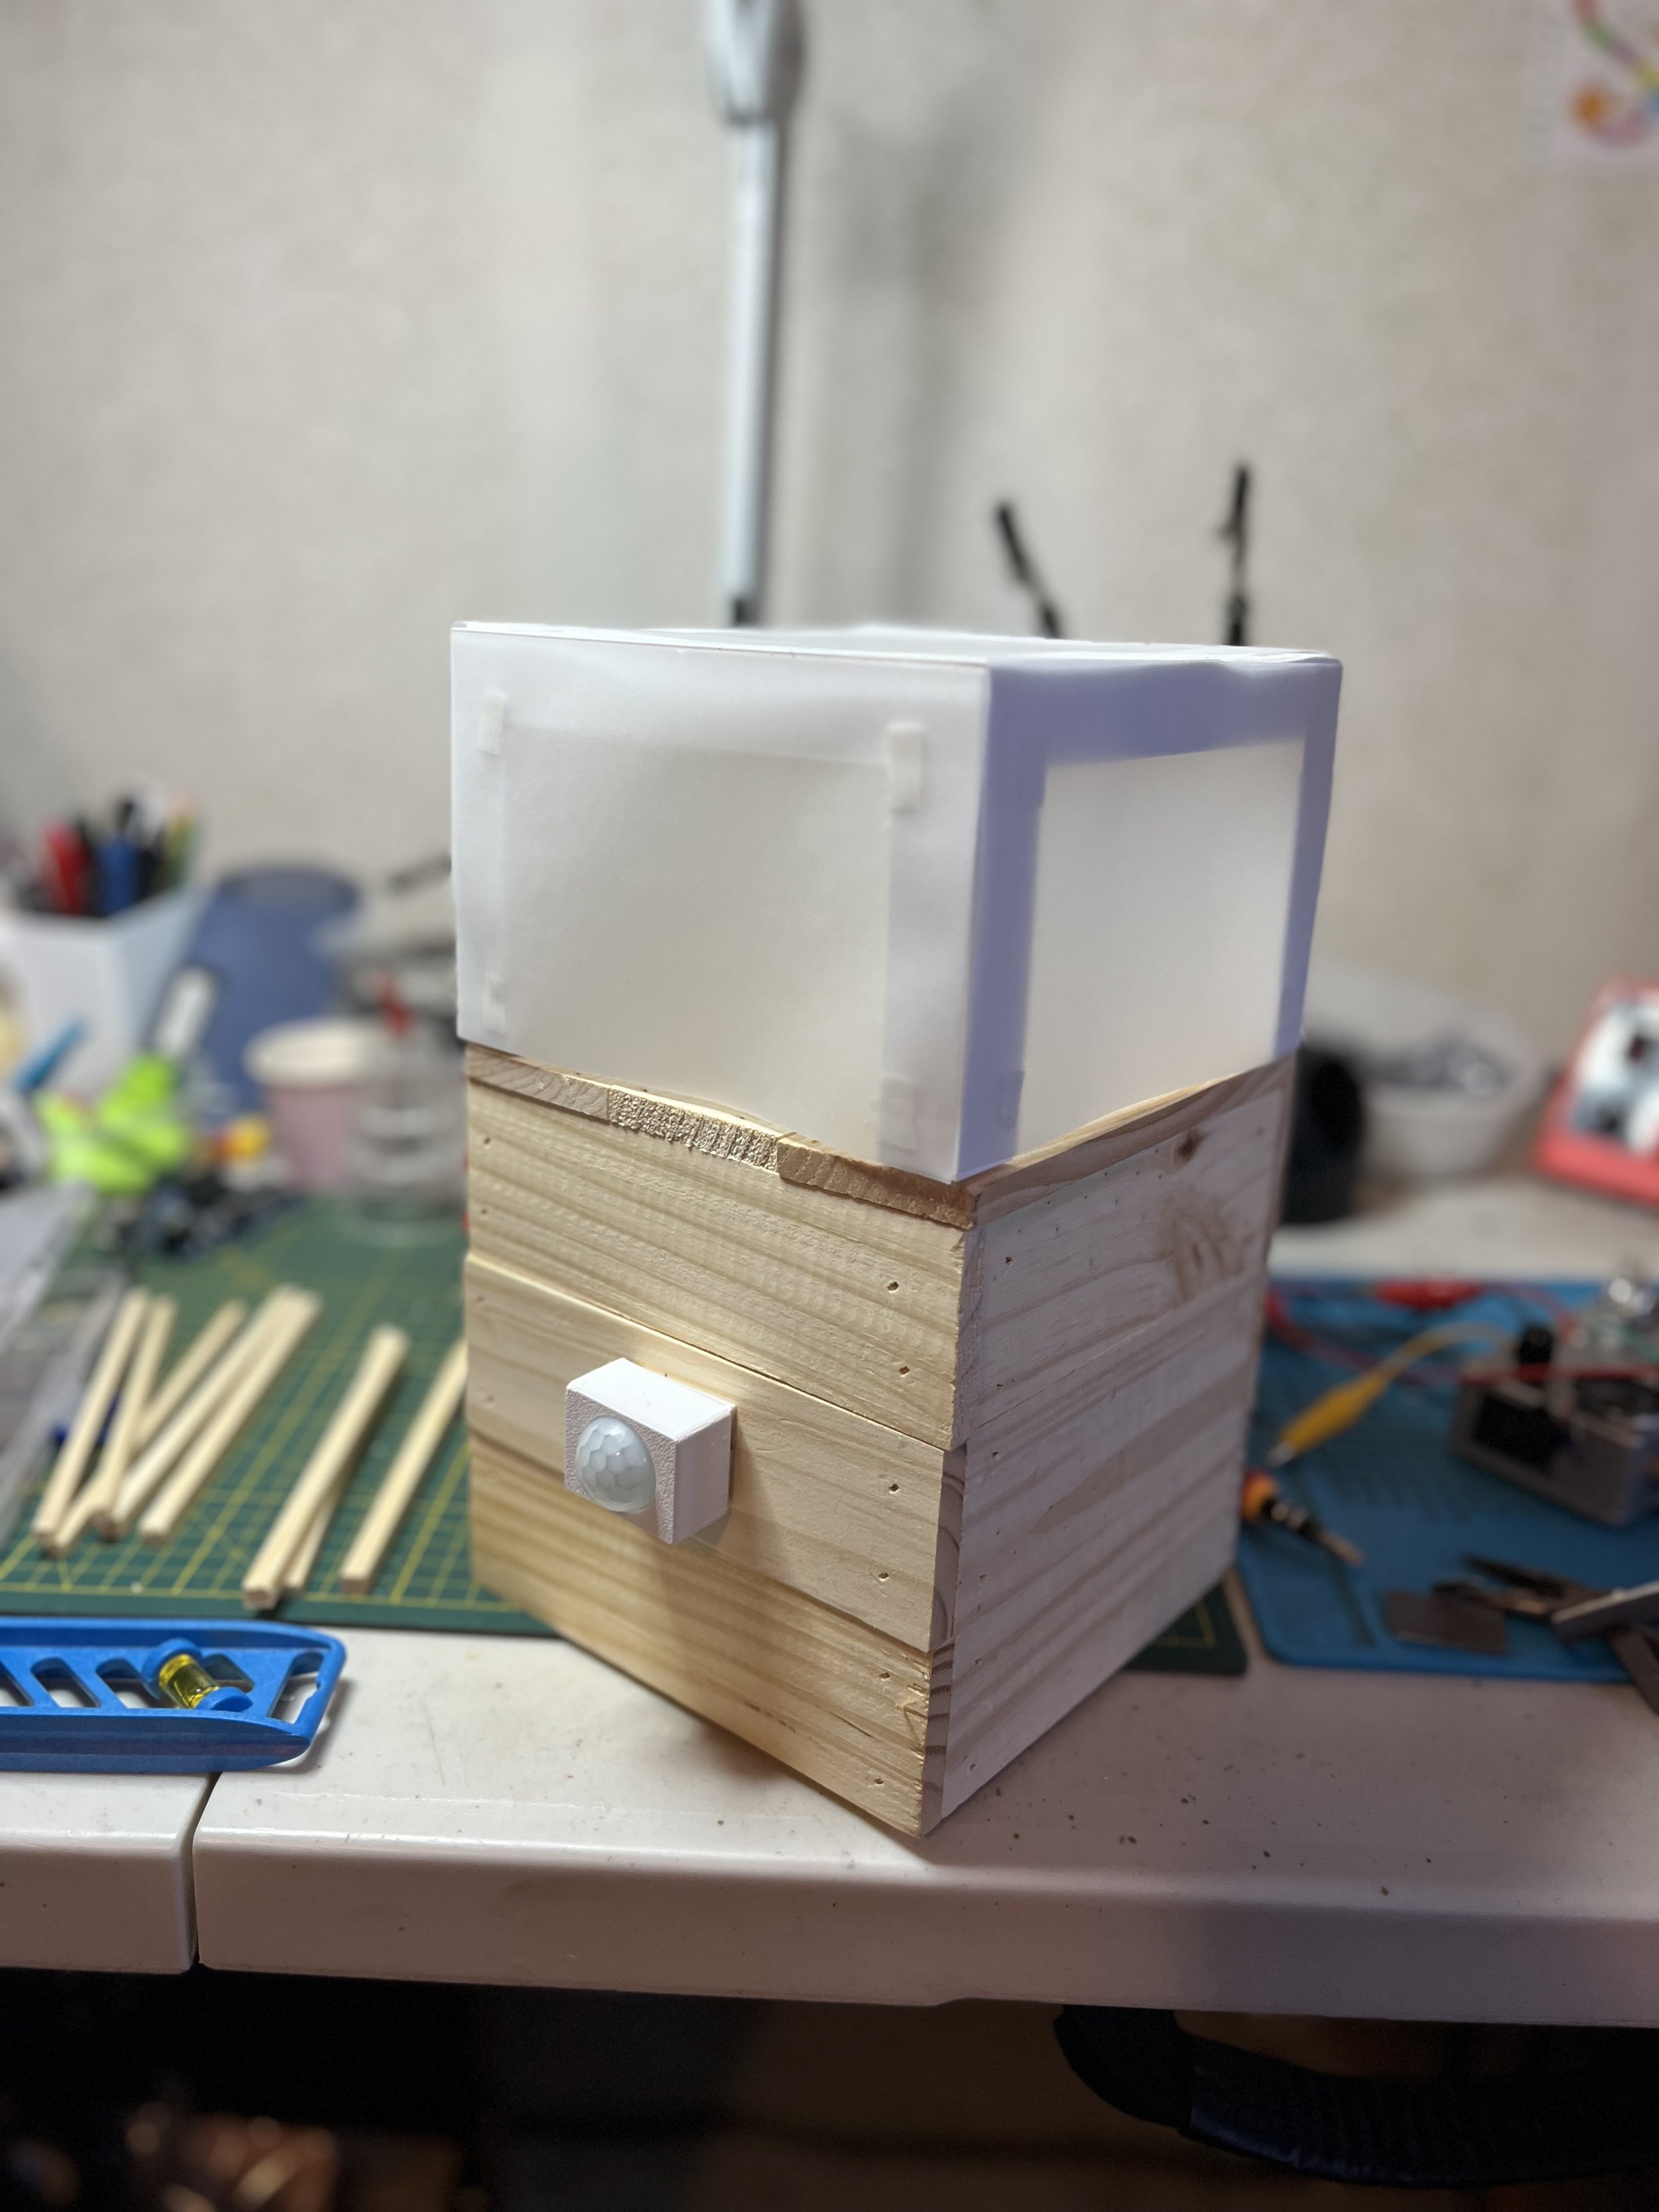
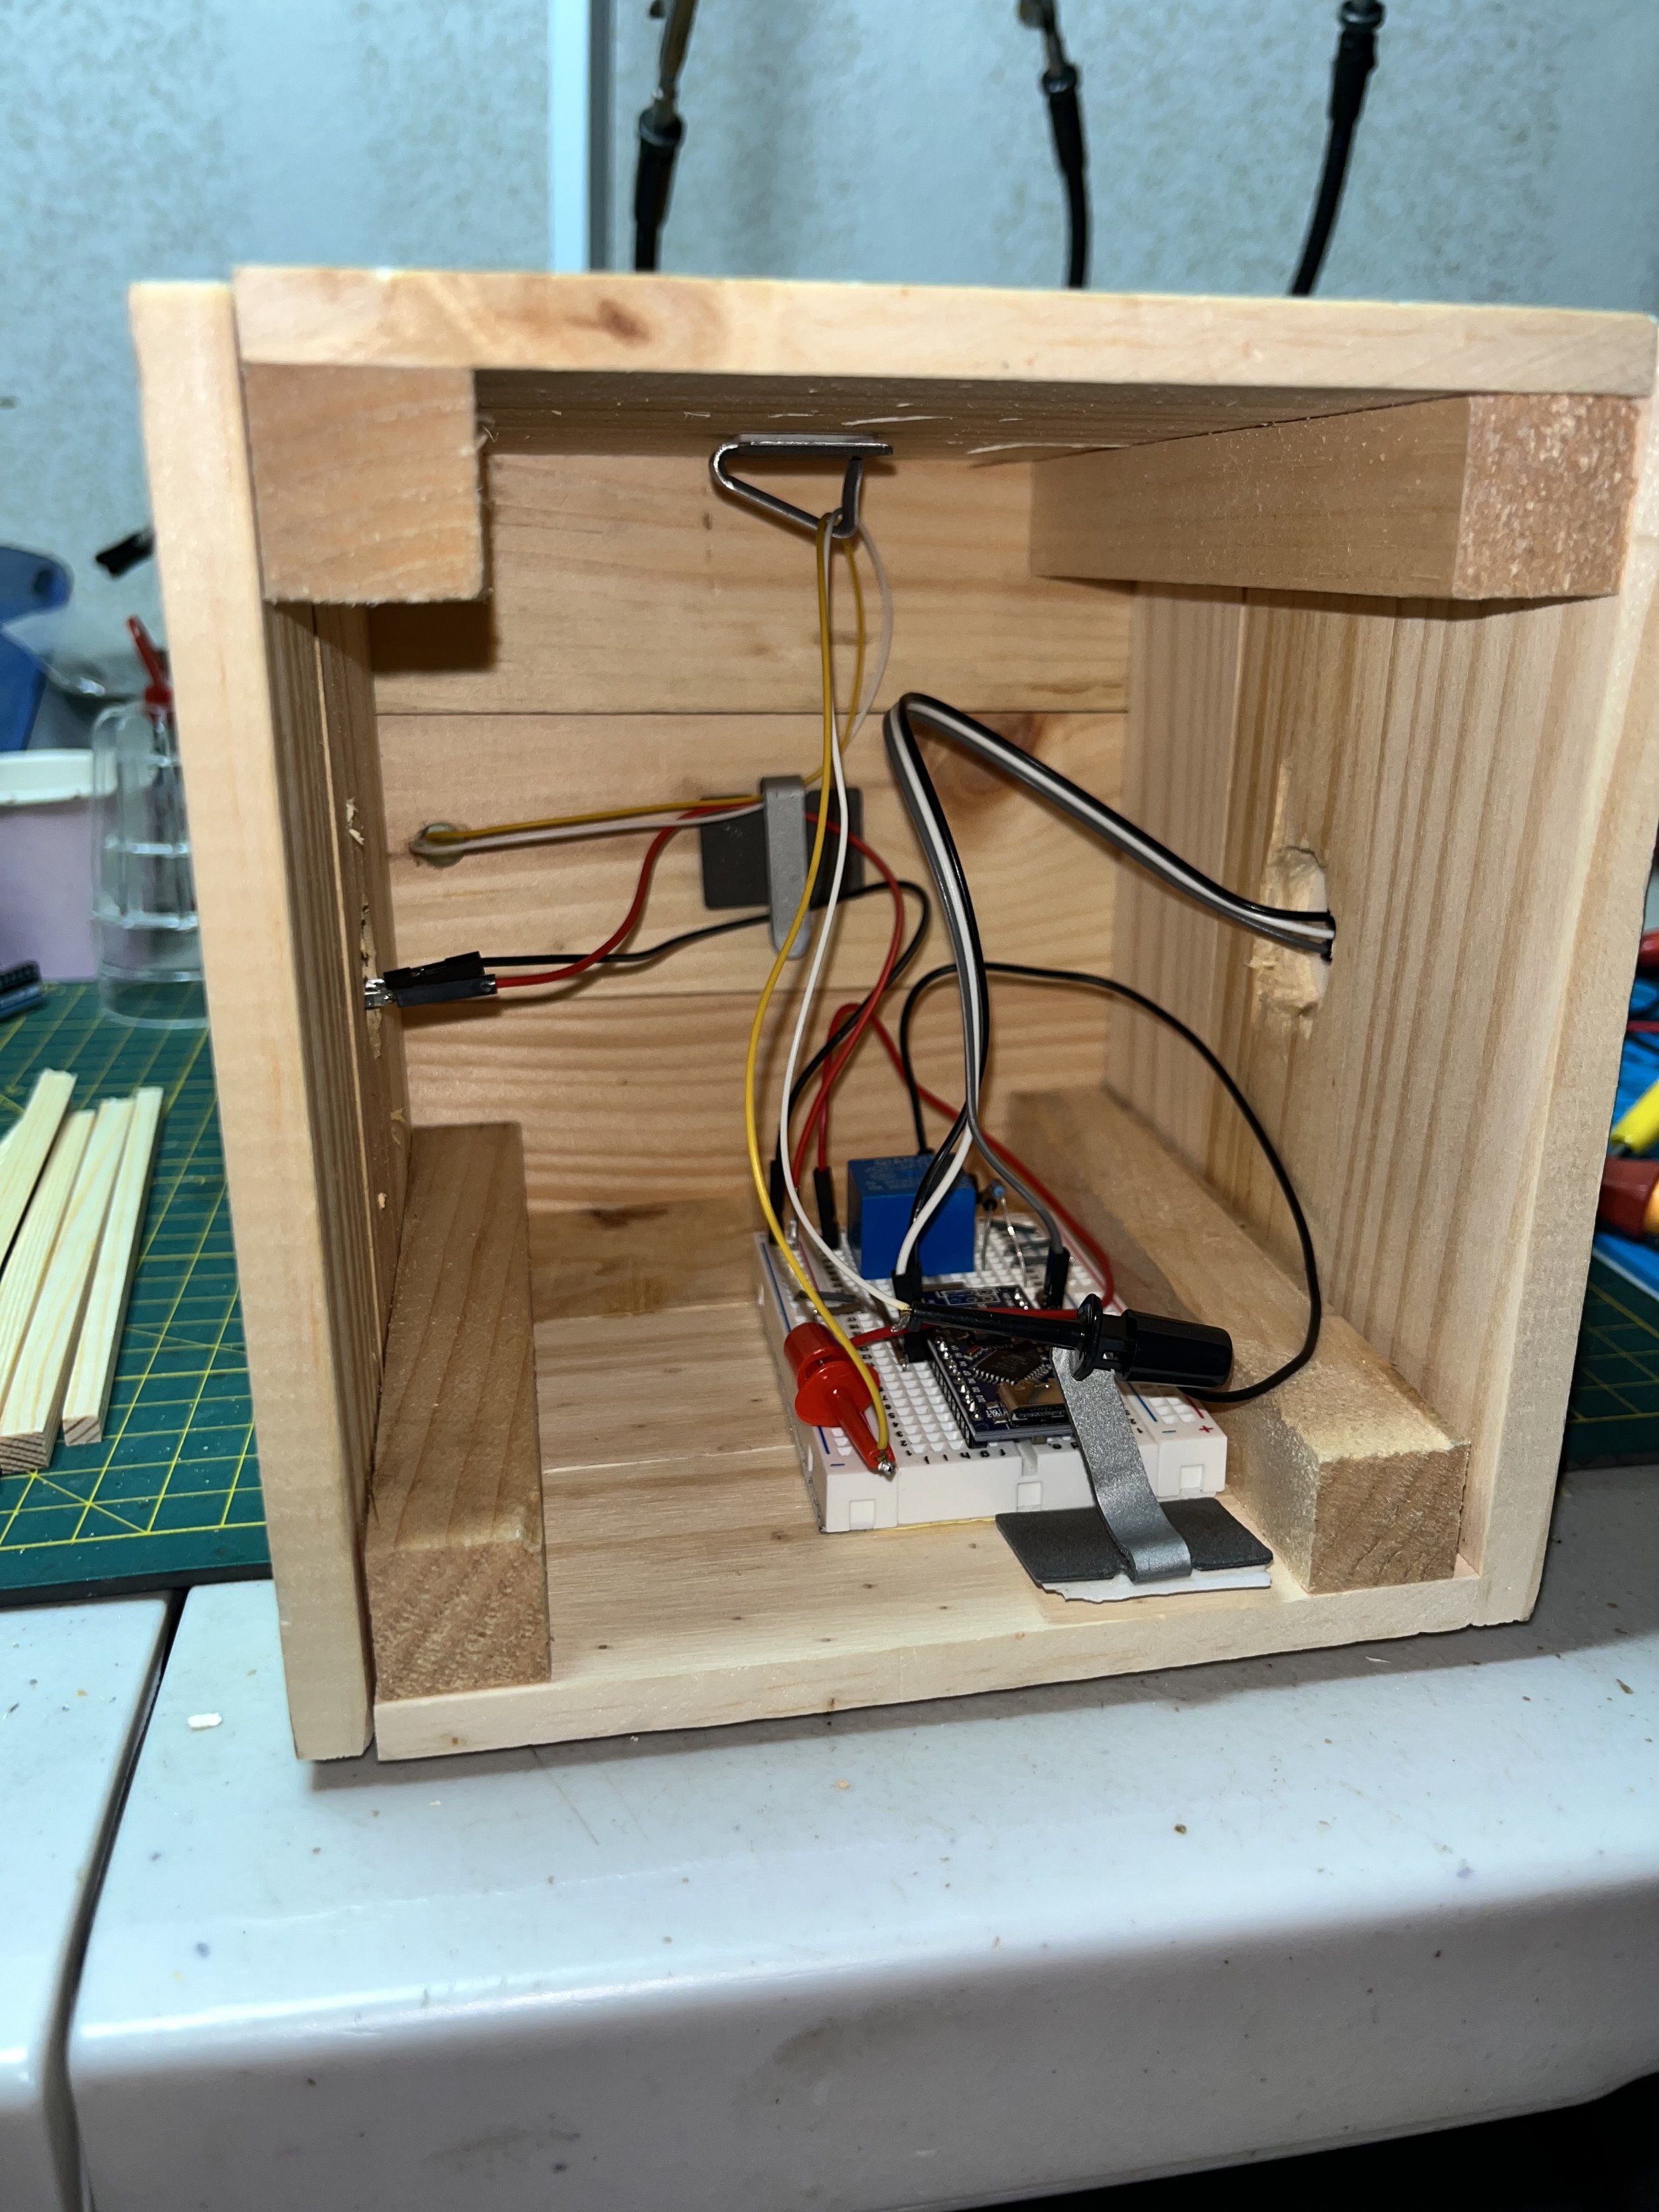
The first prototype lived on a breadboard inside a wooden box I found at Michael’s. I knew I wanted a frosted canopy, so I 3D printed a frame and used vellum paper as a diffuser. It didn’t look great—crumpled and a little amateurish—but it worked. The PIR mounting also posed a challenge. I initially thought I could screw it into the box, but the wood was too thick and blocked the sensor. I found a 3D-printable enclosure, modified it to give me access to the sensitivity and delay potentiometers, and mounted it to the front of the box.
Functionally, the prototype worked—but it was too big and had too many components.
I realized I didn’t need the 5V relay. Initially, I had considered using a wall plug and stepping down 120V AC to 5V, but that became overly complicated. I simplified the power source by using a 9V DC center-negative adapter, something familiar from working with guitar pedals. The Arduino Nano’s onboard regulator could handle it just fine. From earlier projects—like my Arduino bypass and the Kintsugi voltage sag—I knew I could use an NPN transistor as a switch by applying current to the base. So I ditched the relay and wired a transistor to one of the digital pins instead.
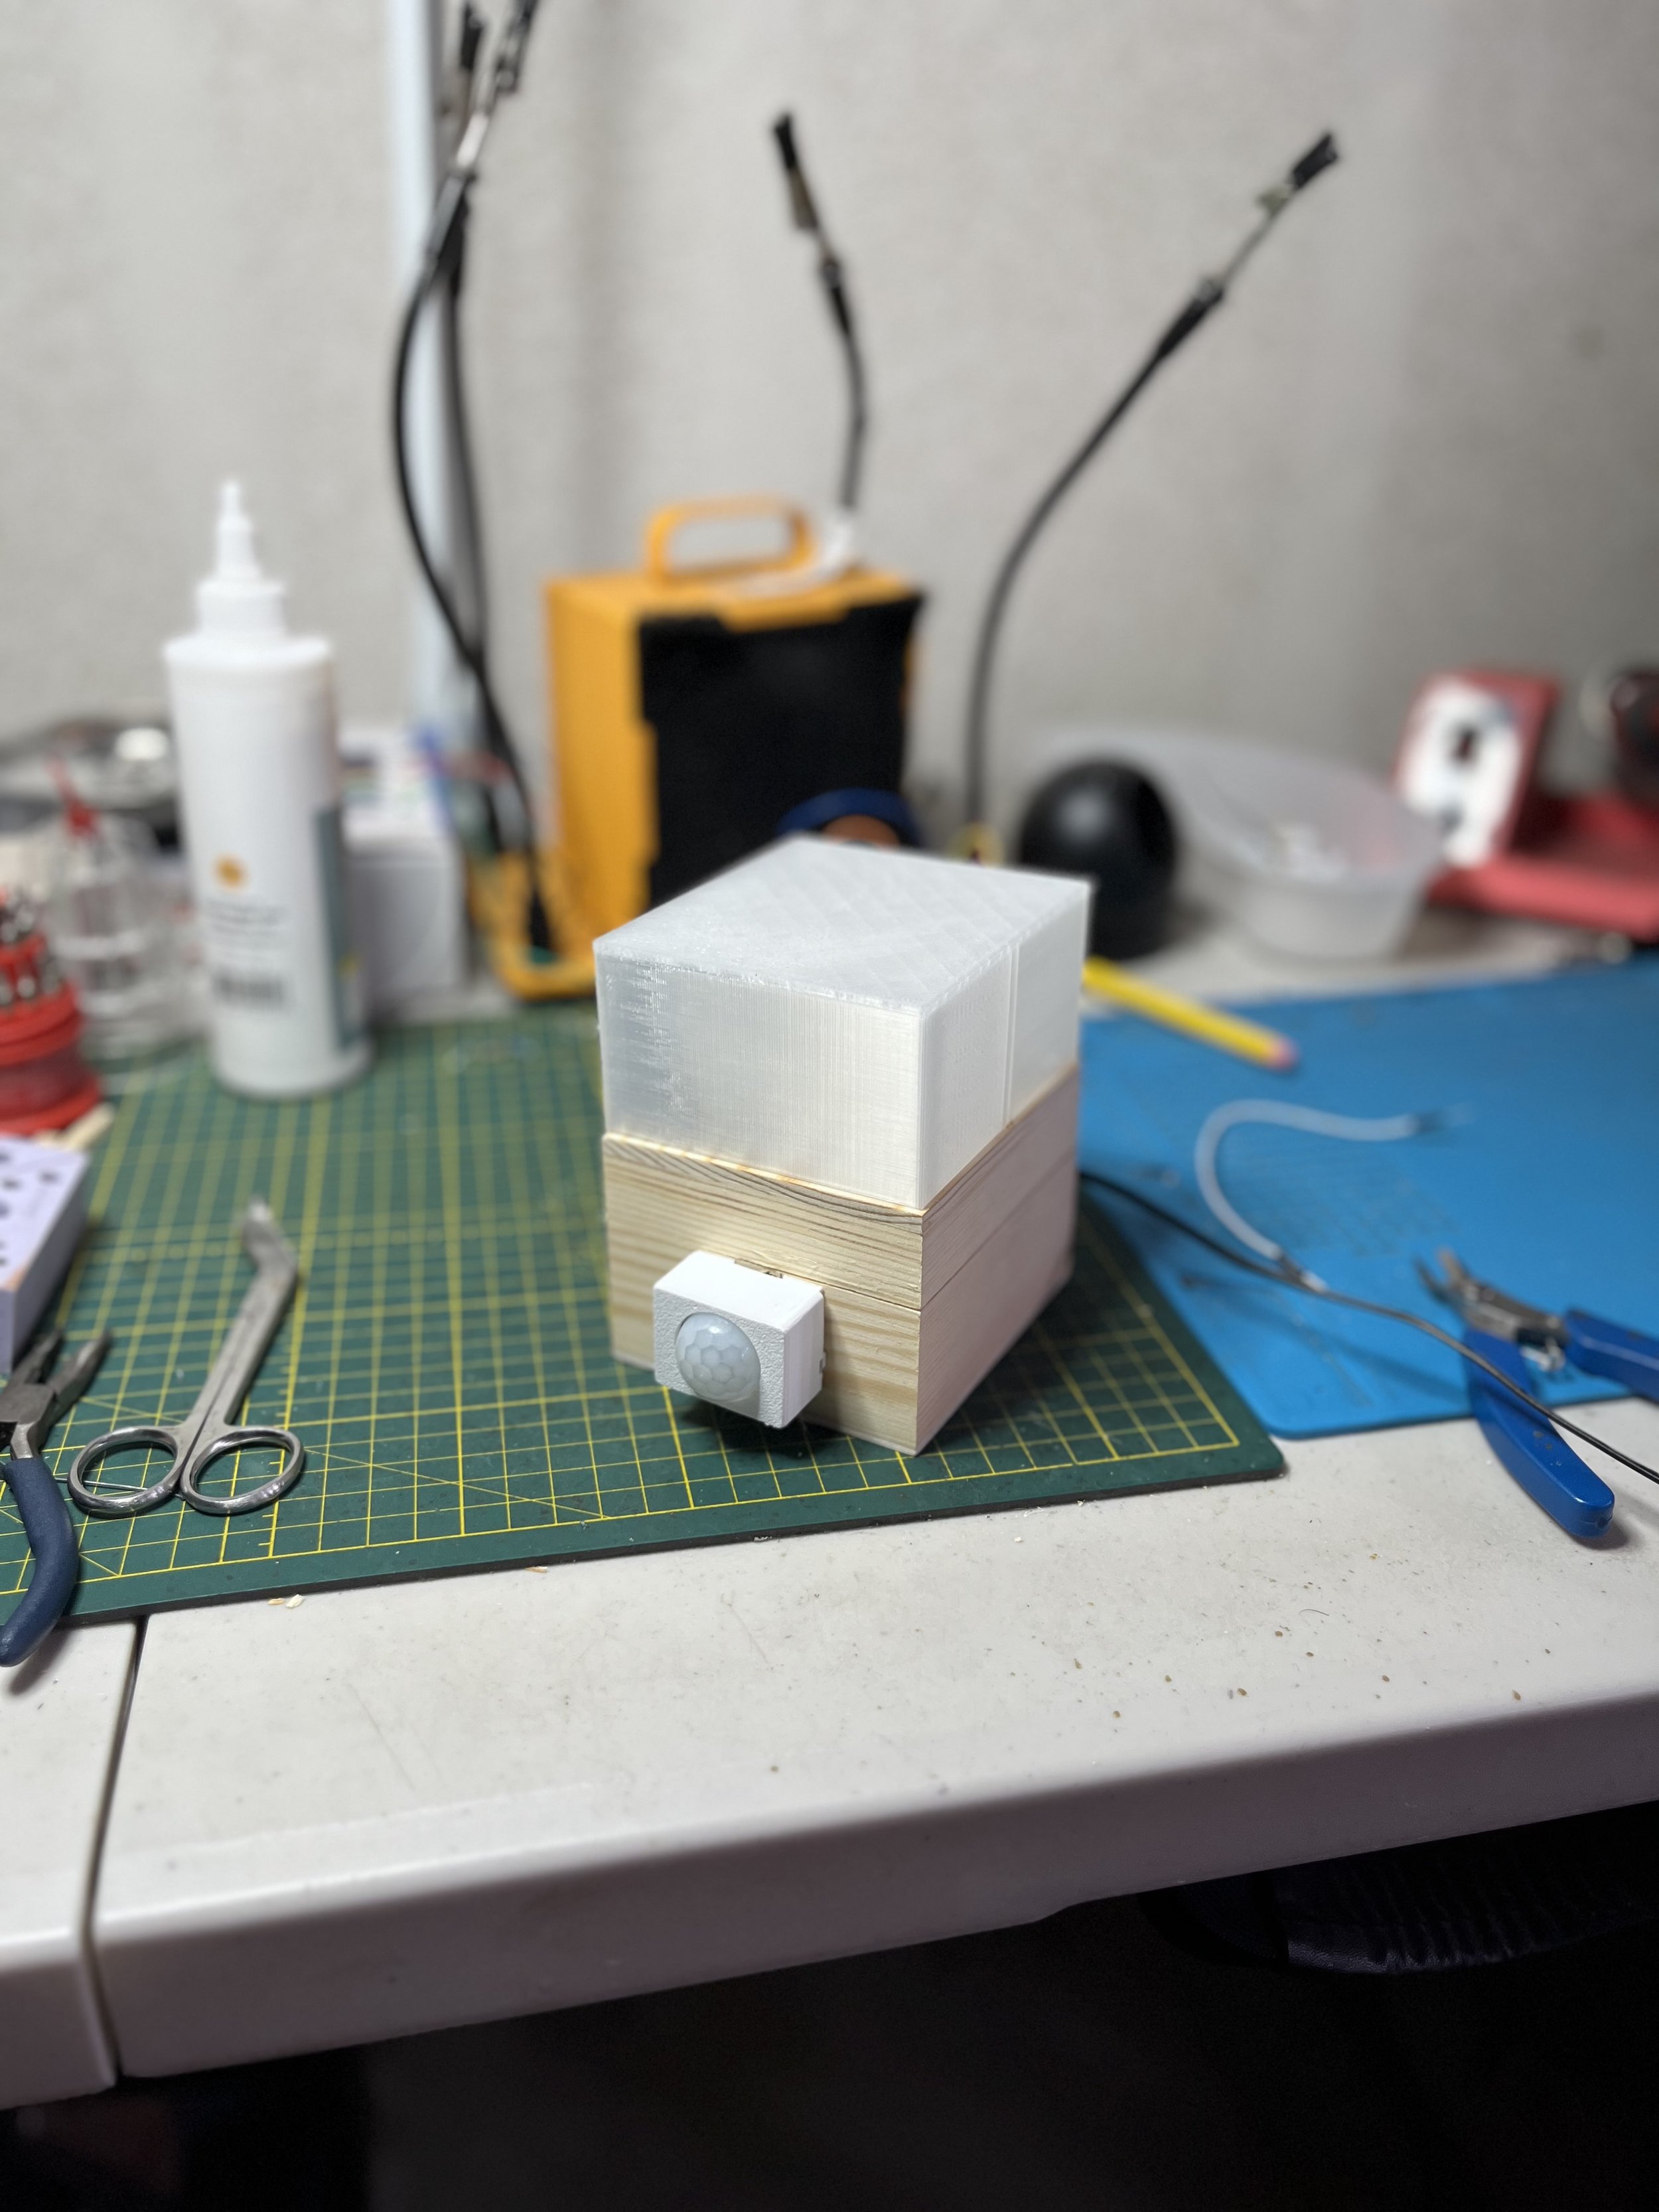
For the second version, I found a smaller wooden box—about two-thirds the size of the first. I also revisited the lamp cover. The vellum paper wasn’t cutting it, so I redesigned the canopy and 3D printed a clean, frosted dome in clear PLA. It gave the light a modern look and provided better diffusion. I added dowels to the base of the dome that slotted into holes drilled in the box top, giving it a clean, removable fit.
Then came the flickering. When powered via USB, the system worked perfectly. But when powered by 9V through Vin, the LED flickered—sometimes blinking, sometimes refusing to turn on at all. The problem wasn’t in the code—it was the LED’s current draw. I deduced it was either too much for the 9V source or the Arduino. I reduced the system’s brightness by half, which made sense anyway: it’s a night light, not a spotlight.
I also wanted the light transitions to feel more natural. The initial brightness ramp was too abrupt, so I rewrote the code: the LED now fades in, dims after a few minutes, and finally fades to off after a full hour of stillness.
I added a physical toggle switch to the back—an SPST from my junk pile of guitar pedal parts—so I could manually turn the light off when needed.
A future version may swap out the PIR for a millimeter-wave radar sensor, which would allow the system to detect presence even when Wexley is perfectly still. I might also add a top to the lamp cover to block light from spilling upward.
But for now, it works. Wexley walks in, the light fades on. He curls up (or splays out), and after a while, it gently fades away.
Demo Video: YouTube
Updates
March 31, 2025
I added a DS3231 real-time clock to limit the lamp’s active hours between 5 PM and 11 PM, preventing it from turning on during the day. I also added a lid to the lamp canopy to improve light diffusion and reduce upward glare. While I considered using a mmWave radar sensor for more precise presence detection, I decided against it—its sensitivity, power demands, and need for fine-tuning felt like overkill for a simple dog bed light. The PIR sensor remains the simpler, more reliable solution for this setup.
Also, I noticed that when powering on the lamp, the LED would sometimes flash unintentionally. This was likely due to the transistor base briefly floating before the Arduino could initialize and take control.
So I introduced a startup buffer. Now, when the lamp powers on, the LED gently lights on for a few seconds before defaulting back to its normal function. This not only prevents the initial flicker but also acts as a visual confirmation that the system is alive and ready.
A proposed hardware fix was to add a pull-down resistor (to keep the transistor off until the Arduino says otherwise), and sometimes a capacitor to slow the voltage rise. But in this project, I opted to keep the parts count minimal—so I didn’t include either.


